Creating a New Web Application
This topic describes the New Web Application page where you create a web application, set device access permissions and define how the application will appear in the dashboard after publication.
New Web Application
Log in to the tenant portal and click Create New Web Application on the Home page.

You can also create a new web application using the Add Web Application button on the Web Applications page, accessed from Web > Web Applications on the main menu.
Options
Note | In this section the Web App List Image option has been listed out of order for clarity.
All image files that you assign to the application with these options must be square, that is having the same width and height
- Application Logo: The image for the application as displayed in the portal.
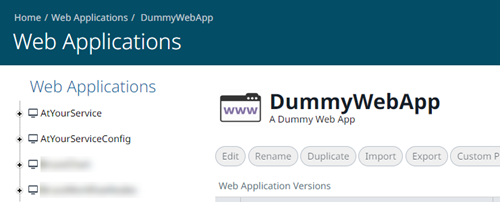
- Application Name: The name of the application as displayed in the portal, for example:

The application name also forms part of its URL in the dashboard. - Display Name: The name of the application displayed in the dashboard. See (1) below.
- Description: The description of the application displayed in the dashboard. See (2) below.
- Web App List Image: The main image for the application displayed in the dashboard. See (3) in the image below.

- Guest App: When Guest App, and then My Tenant Menu are selected, the application is made immediately available in the dashboard, without a user having to log in.
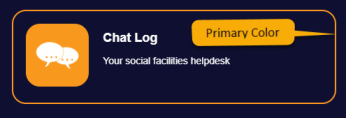
Note: The User will be redirected automatically to the published version of the Guest App - Primary Color: The colour of the border surrounding the application displayed in the dashboard; for example,

- Secondary Color: This option will be used in a future release.
- Recently Used Image: The image displayed in the Recently used apps area at the top of the dashboard.
- Showcase Features: This option is deprecated.
- Hide App on Home Page (Url Access only): Default is unchecked. This option will restrict the App to be opened using its URL directly. Ticking this option in combination with the App Accessible from options would allow users to control access to only those Container Apps that have been configured with the specified URL.
- App Accessible from: The dashboard will hide applications from device types that are not selected in the check list.
After configuring the options, click one of the Create buttons at the bottom or top right of the page.
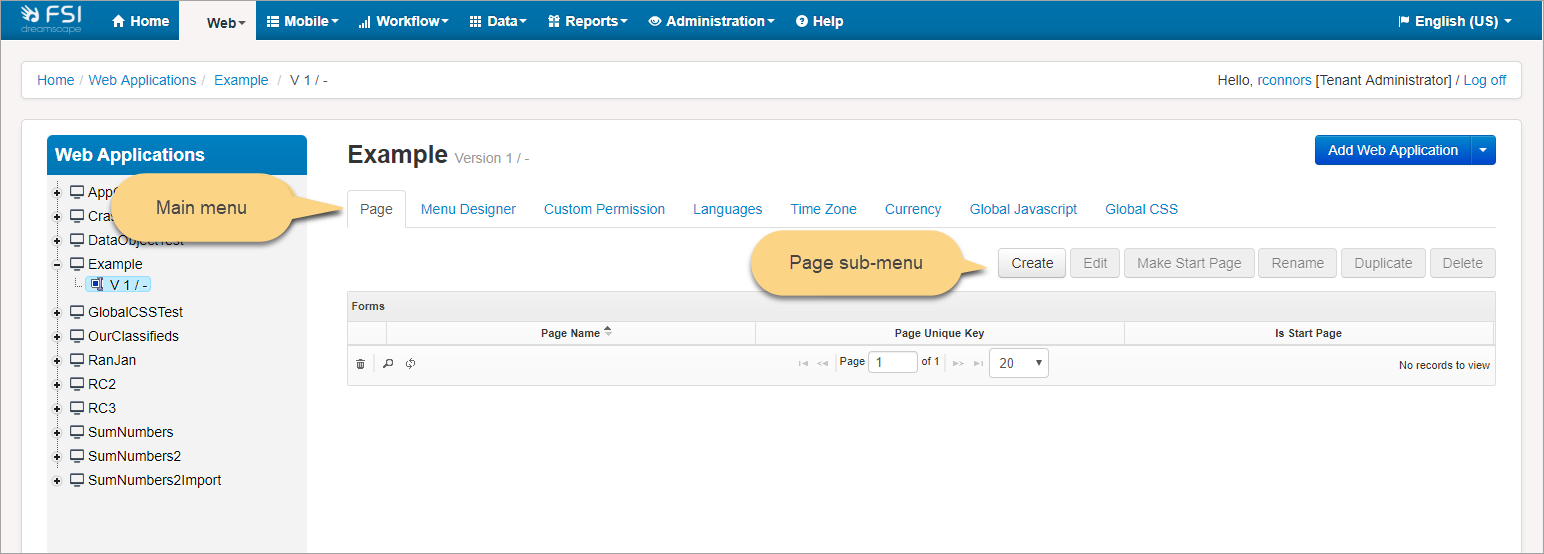
The system creates an initial version (V1) of the web application. This version is automatically selected for display in the Version Edit page with the Page menu tab selected as shown in this example:

The main menu relates to the entire web application version; changes made to these items may affect all the pages in the application. For details of the main menu items see Configuring a Web Application Version.
At this stage, no pages have been created, and Create is the only option that can be selected from the Page sub-menu.
Editing web application options
After leaving the New Web Application page, you can revisit the options later like this:
- Select the application in the Web Applications page. If you intend to make changes, check that the application is unpublished.
- Select Edit Current Web Application from the Add Web Application drop-down at the right of the screen.

- Make changes in the Edit Current Web Application page and then click Save.
Note | From the drop-down list you can also delete a web application.
